I must admit that I have become a Pinterest addict. I mean who hasn't? There are so many ideas pinned that I could literally spend weeks or even months trying to do everything I pin.
Ok, realistically--everything I pin could never be made in a single year lol. I am a bonafide pinaholic. Is there a 12-step program available for us yet---I am sure someone will pin it when there is hehehe.
Nail string art is not a new technique--I remember doing it in grade school, but as often as it has been pinned lately you would think that it was the newest technique discovered. I went to the mall the other day and saw an Owl String Art for $40!! I about fainted. Then I looked on Etsy and Ebay and was shocked to find prices just as crazy.
It is so EASY to make your own and I will show you how!

Here is what you need:
1)- Printed image of what you want to do
2) a hammer
3) nails (i used 5/8" flat head wire nails)
4) floss or embroidery string
5) board for your canvas
and that is it
Paint your board any color you want. I am using MDF for my canvas and it is a scrap 10x10 piece I had laying around. You can use pine or whatever you have. My plan for this board is to make it school themed to show my Bobcat Pride!

You can tape your image to the board with painter's tape, but I didnt. I centered where I wanted it and put the first nail in place and it didnt move.
Hammer your nails evenly spaced around your image. I highly recommend that you take the time to mark dots around your image where you want the nails to go. I did not do this and later when I was putting on the string, I wish i had.

Here is what it will look like when all of your nails are in. You do not need to hammer them way down but you definitely want to make sure they are snug. I did go once around the entire batch of nails and made sure they were even heights.
I used over 100 nails in this design!


Board with nails. Enough said. Looks pretty plain!

Now you are ready to start stringing. I wanted to do a 2-color art board. I started with Maroon since it would be my dominant color. I started in the top left corner of the panhandle of Texas.
Tie your floss or embroidery string on one nail. Don't worry about the tail, you will cut it off later. Pick 2-3 nails on the heart and begin wrapping the string nail to nail until you have filled in the amount you want.
Tie off the end. and begin the next color. Tying the ends is not easy. I struggled with this for a bit and finally got it. You only end up with one end that you have to basically tie to itself around a nail. Give yourself a long tail, make a loop and feed it through the loop around the nail. pull it snug and keep moving your loop closer to the base of the nail until it tightens. I tried to get a picture of this but it just wasnt cooperating.

Above is my failed attempt to show you the tail and loop tie technique but all ya got is scissors--sorry!

The panhandle was a bit tricky. Once I got to the far left corner nail, I literally just decided to weave the string along the right side nails until I got to the last nail of the panhandle. It was the easiest thing to do. When I first tried to pull the string to the heart from that right side, it was quite a mess. Weaving it was definitely much better!
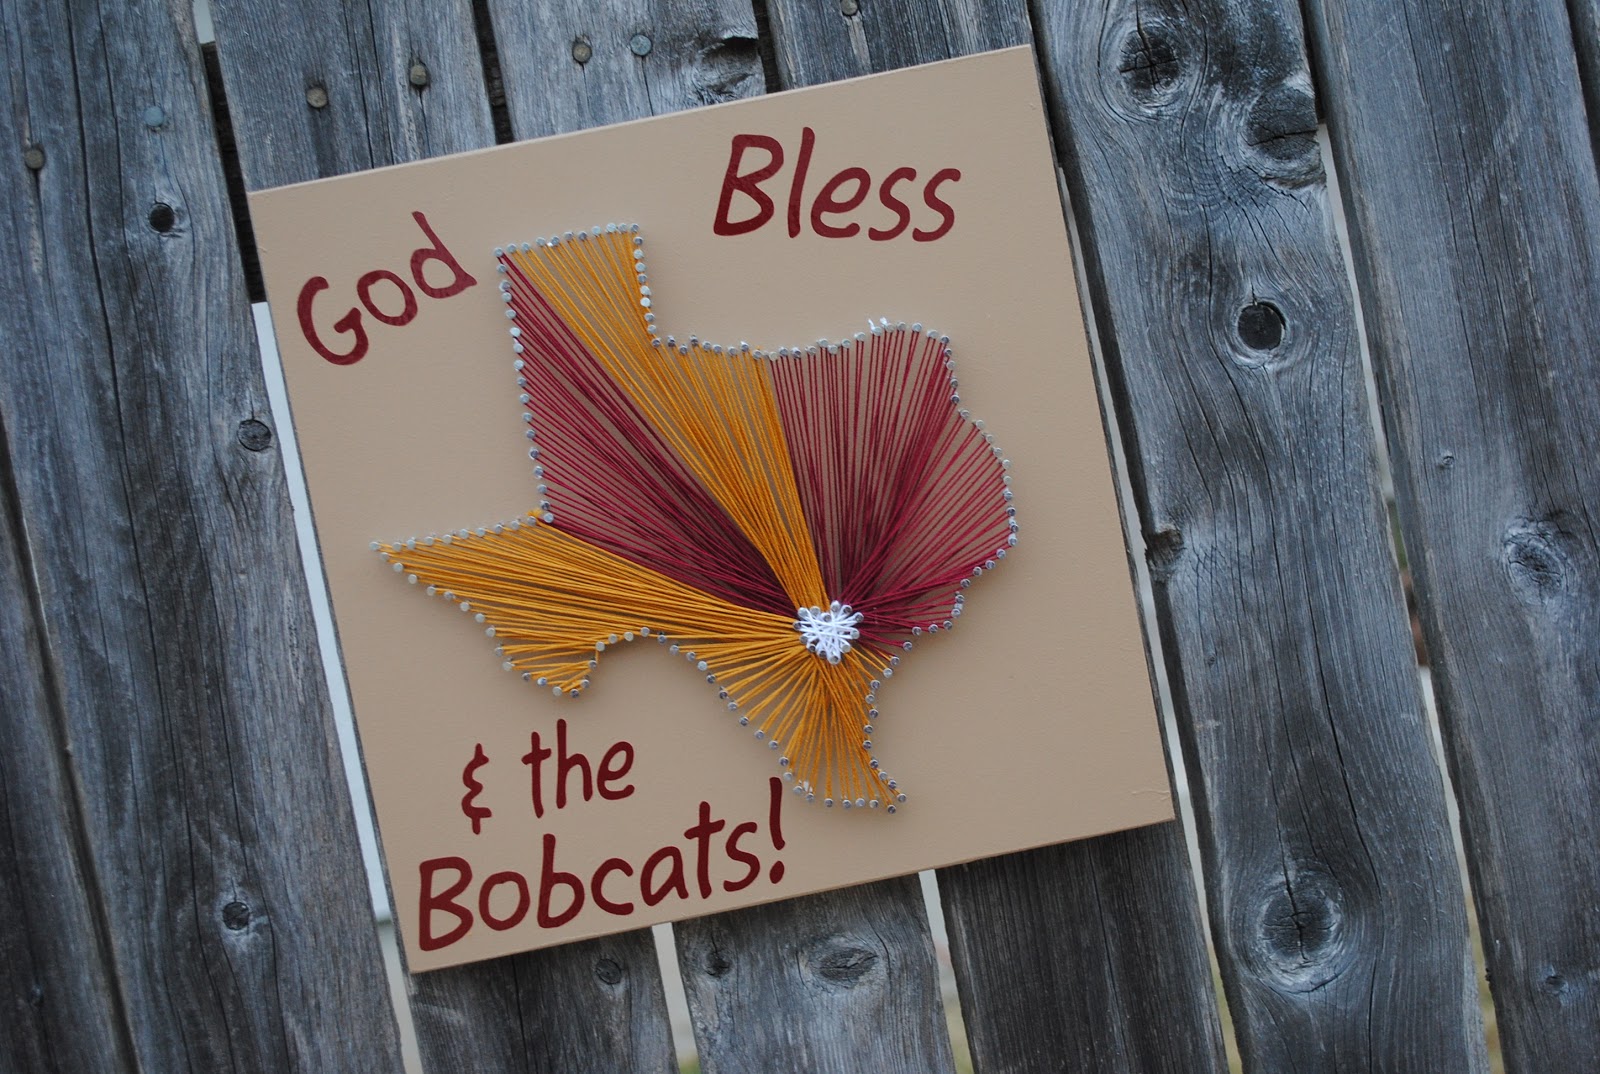
Viola! here is my finished product:
I added the vinyl letters:
God Bless {Texas} & the Bobcats!
Let's Break it down:
Paint---Free
Board---Free
Nails---$1.44
Floss---5 for $1.00
Vinyl letters---Free
Total Cost--$2.44
SCORE!!
I know many of you may not have stuff lying around like I do but you could buy a ready to use board piece at hobby lobby or Michaels for around $3.00. Paint in small bottles for $.99 so add that to my total and you can still make your own for $6.43!!

